You have some savings, maybe a mortgage in principle, and a plot or a field you keep driving past. Nobody hands you the order of events, and on a self-build the order is half the job. It runs like this: route and budget, plot, planning permission, Building Regulations and a warranty, site work, sign-off. That is how to build a house in the UK, with one check at each stage before the next begins.
Self-build, custom build or a package company?
Choose the route first, because it decides how much of the risk lands on you. On a true self-build you buy the land and either hire a main contractor or run the trades yourself; the second looks cheapest on paper and swallows your evenings and weekends. Custom build puts you on a serviced plot from an enabler or a council-backed scheme, with access and utilities already in and a menu of house types. A package company sits in between, supplying the design and a timber frame or panel system while you arrange the groundworks and finishing. Before you view a single plot, set one number: the ceiling for the whole project. Base it on what building a house costs in the UK at recent prices, with the contingency already inside the ceiling rather than on top of it.
What to check before you buy a plot
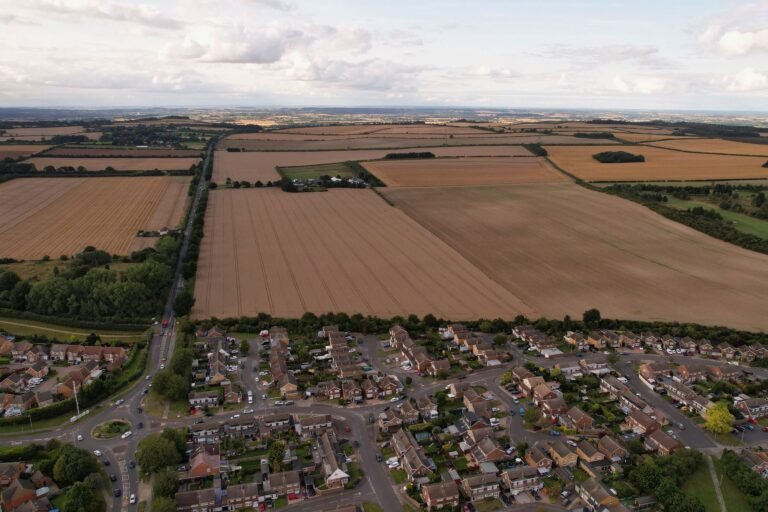
Most plots surface on land-finding sites, at auction or from a farmer selling a paddock. In England, join the council’s self-build register too: it guarantees no plot, though the council must grant permission for enough serviced plots to match the demand it records. Before you offer, pull the planning history. A live consent, its conditions and its expiry date matter more than the asking price, and an old refusal shows what the planners dislike. Find out where the nearest sewer and power cables run, and read the title for a restrictive covenant. Check for safe sight lines at the entrance and for any ransom strip separating the plot from the road. Last, the ground: big trees on clay, a slope, flood risk or old mine workings all change the groundworks, and a site investigation before exchange is cheap next to a piled foundation you never priced.
Your design team and planning permission
The usual team is an architect on the ARB register or an architectural technologist, a structural engineer and, on awkward plots, a tree or ecology consultant. Local experience beats a glossy portfolio: pick someone whose one-off houses your council has approved. Almost every new house needs planning permission. Outline consent may settle little more than the principle; anything held back, from access to appearance, layout and scale, comes back as reserved matters. In England a one-house application should be decided within eight weeks, though plenty run over. Read every condition on the decision notice. Pre-commencement conditions must be discharged in writing before a spade goes in, and where CIL applies, the self-build exemption claim and a commencement notice go in before work starts.
Building Regulations and a structural warranty
Building Regulations are a separate hurdle from planning: they govern how the house is built, from structure and drainage to fire safety and energy use. You choose who checks the work: the local authority or a registered building control approver. If you use the council, make a full plans application rather than a building notice. The council must decide within five weeks, or two months if you agree, and lenders and trades work from the approved drawings. In Scotland the equivalent is a building warrant, and starting work without one is an offence. Before anyone digs, register a 10-year structural warranty with NHBC, LABC Warranty, Premier Guarantee or another provider your lender accepts. Its surveyor inspects at set stages, and self-build lenders usually want it before the first stage payment.
How to build a house on site, from the ground up
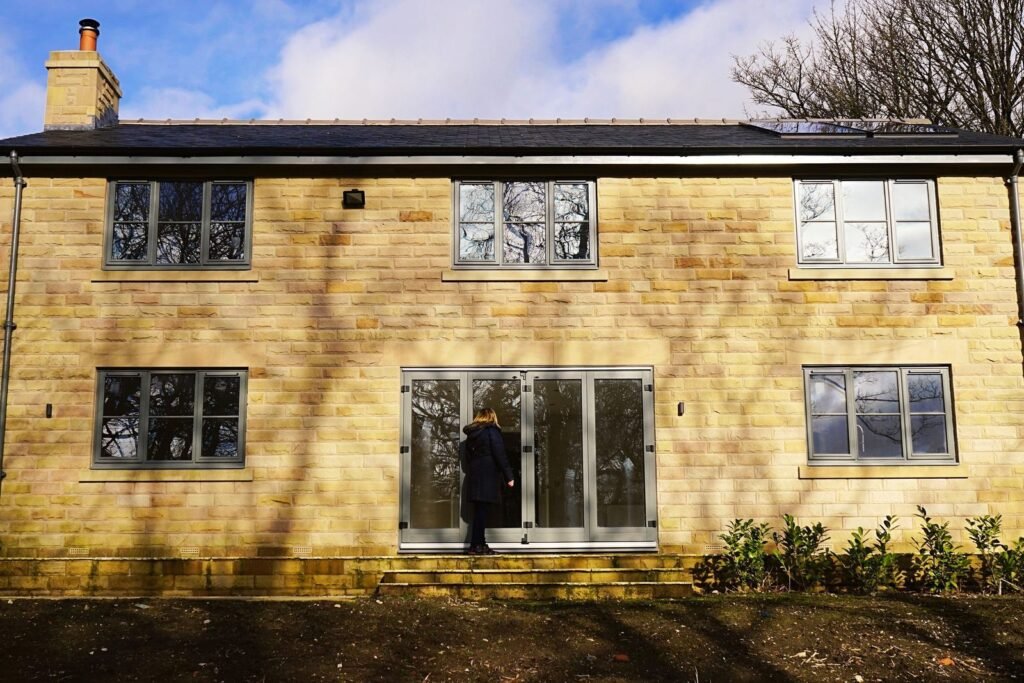
Site work opens with clearance, a secure compound, a welfare cabin and temporary power and water, then setting out. Your engineer designs the foundations from the site investigation: strip or trench fill on firm ground, a raft or piles on soft or made ground, and deeper footings or piles on shrinkable clay near trees. Building control and the warranty surveyor both need to see the open trenches; pouring concrete before they do is among the costly mistakes when building a house. Below-ground drainage and the ground floor follow, with the damp-proof course at least 150 mm above outside ground level. Walls rise to wall plate in masonry or timber frame, then the roof goes on. Once windows and external doors are in, the shell is weathertight and the weather stops setting the programme.
- Site set-up and setting out
- Foundations and drainage
- Ground floor and damp-proof course
- Walls up to wall plate
- Roof, windows and doors
- First fix, plaster and screed
- Second fix and final inspection
From first fix to the completion certificate
First fix puts stud walls, pipework, cabling and ducting into the shell. Photograph every wall before boarding so you know later where not to drill. Plaster follows, and a screed floor can need weeks to dry before flooring goes down. Second fix brings the kitchen, bathrooms, doors and sockets. Each new dwelling in England needs an airtightness test and an EPC, and sign-off is a completion certificate from the council or a final certificate from an approver. Snag every room before the final payment. Keep that certificate, because the VAT431NB refund for DIY housebuilders has a six-month deadline that runs from the completion date. If you have no land yet, the next fortnight is simpler: put the budget ceiling on one page, pick a route and ask the council for its self-build register form and pre-application fees.